Adding Components to RTSG

Components such as Gauges, Graphs, and Images can be added to the RTSG display. See Add a Screen Overview for more information on the types of available components.

To Add a Component:

  1. From RTSG, click Setup » Add Screen.
  2. Right-click on the grid. Choose Grid Properties and set the columns, rows and background color.
  3. In the Add Screen window, right-click on the grid to set Grid Properties.

  1. Check the checkbox to toggle gridline visibility. Click OK.

  2. Note: Components must occupy entire cells. Use Grid Properties to add more columns and rows for a greater freedom in choosing component sizes.

    Add more columns and rows to get more control over the page layout.

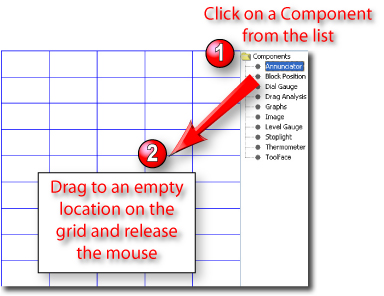
  3. Drag a component from the right to a grid location. Various components are available:

  4. Drag components to an empty area of the grid to add the component to the custom screen.

  5. Click/drag on the blue edge of the component to resize.

  6. A blank component will be added to the screen. Data must be assigned to the component, and the component's function may still need to be customized.

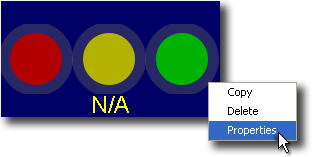
  7. Assign Data to a component or customize the component's functionality by right-clicking on the component and choose Properties.
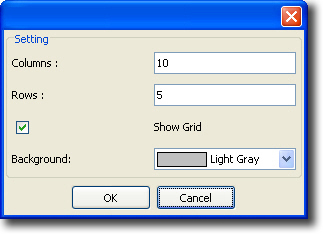
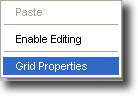
  8. To adjust the functionality of a component, right-click the component and choose Properties.


You are here: RTSG Help > Configuration Manager Options > Custom Screens > Adding Components to RTSG
The materials in this help system are protected by federal copyright laws. No part of this documentation may be transmitted, transcribed, translated, or disclosed to third parties without the express written permission of Canrig Drilling Technology Ltd. Copyright 2010. Last Modified On: Wednesday, March 02, 2011.

.